


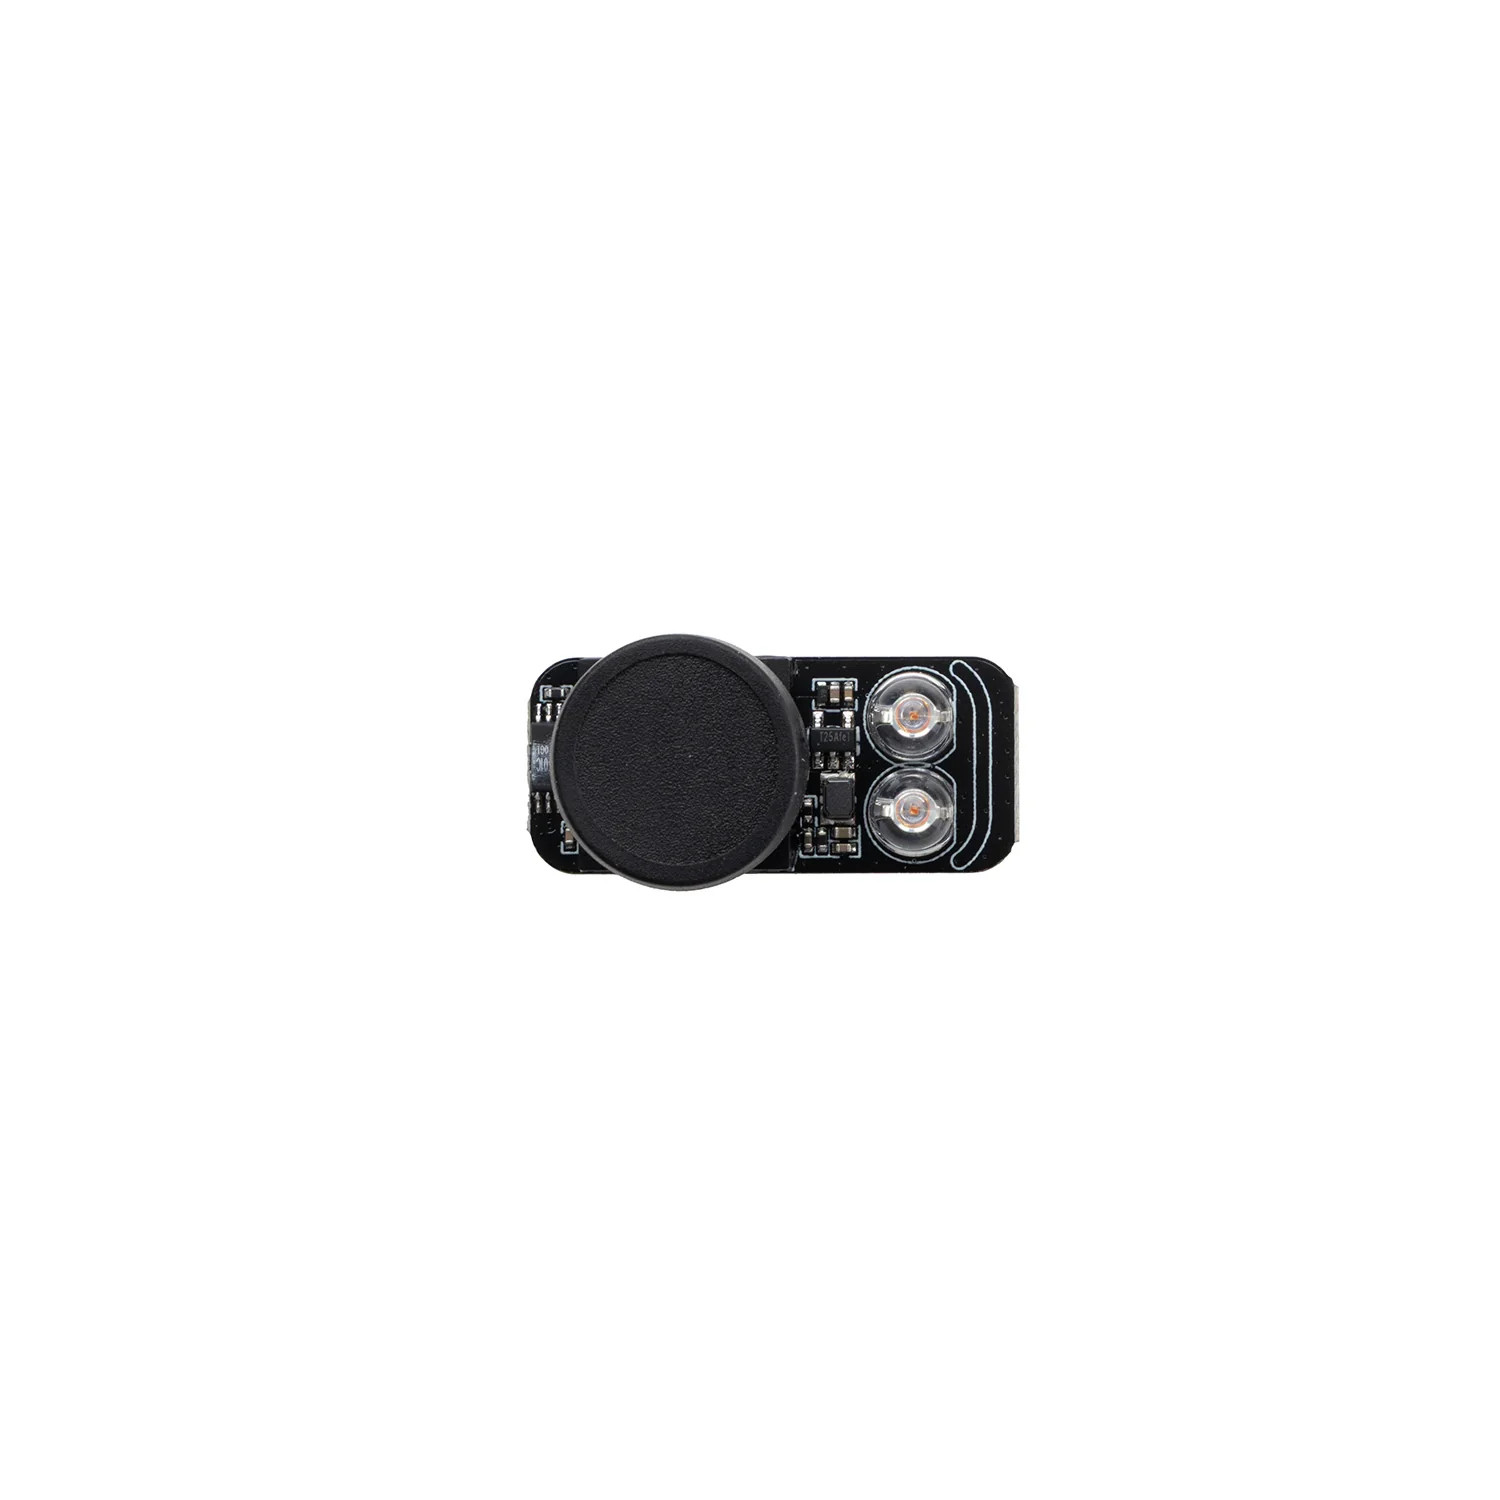
Anycubic Yellow-Light Camera Unit for Photon P1
Product Description
Anycubic Yellow-Light Camera Unit for Photon P1 is an original camera module with warm yellow illumination designed for the Anycubic Photon P1 resin 3D printer. The camera is installed inside the printer enclosure and provides visual monitoring of the printing process.
The module features a 480P camera and two integrated warm yellow LED fill lights. The additional lighting improves visibility of the build platform and printed model in low ambient-light conditions.
The camera supports remote print monitoring and time-lapse video recording. It is suitable for replacing a damaged, contaminated or malfunctioning original Photon P1 camera module.
Key Advantages
- Original Anycubic replacement part.
- Designed specifically for the Anycubic Photon P1.
- 480P camera resolution.
- Two integrated warm yellow LED fill lights.
- Improved visibility of the build platform and printed model.
- Supports remote print monitoring.
- Supports time-lapse video recording.
- Installs in the original camera mounting position.
- Suitable for restoring the original Photon P1 camera functions.
Technical Specifications
| Specification | Value |
|---|---|
| Product name | Anycubic Yellow-Light Camera Unit for Photon P1 |
| Official category | Camera for Photon Series |
| Product type | Monitoring camera with LED fill lights |
| Compatible printer | Anycubic Photon P1 |
| Camera resolution | 480P |
| Lighting type | Warm Light / warm yellow light |
| Number of LEDs | 2 |
| Remote monitoring | Supported |
| Time-lapse recording | Supported |
| Weight | 20 g |
| Package dimensions | 85 × 56 × 40 mm |
Camera Purpose
The Yellow-Light Camera Unit provides visual monitoring of the internal working area of the Anycubic Photon P1. It allows users to observe the build platform, printed model and general progress of an active resin printing job.
Remote monitoring is particularly convenient during long print jobs, reducing the need to remain next to the printer. Visual access can help users notice obvious printing problems and stop the job when necessary.
Yellow Working-Area Illumination
The module includes two warm yellow LED fill lights. They illuminate the build platform and internal enclosure when ambient lighting is insufficient.
The yellow lights are used only to improve the camera image. They are not part of the UV exposure system and do not cure photopolymer resin.
Remote Monitoring and Time-Lapse
- View the Photon P1 internal working area.
- Remotely monitor an active print job.
- Check the position of the build platform.
- Observe the printed model during operation.
- Create a time-lapse video of the printing process.
Remote features require the printer to be connected to a network and correctly added to compatible Anycubic software or services.
The time-lapse option should be enabled before starting the print job. If time-lapse recording is not enabled in advance, a video of the current print may not be saved.
Compatibility
This camera module is designed for the Anycubic Photon P1. Its housing, lens position, mounting points and connector correspond to the original camera installation position of this printer.
The official Anycubic store lists Photon P1 and Photon P1 Max as separate product options. Make sure the version selected before ordering is specifically marked Photon P1.
Compatibility is not officially stated for the Photon P1 Max, Photon Mono M7, Photon Mono M7 Pro, Photon Mono M7 Max, Photon Mono 4 Ultra or other Anycubic printers.
When Replacement Is Needed
- No camera image is displayed.
- The camera is not detected by the printer or application.
- The module repeatedly disconnects during operation.
- The image contains persistent lines, interference or severe distortion.
- The image remains blurred because the lens is damaged.
- One or both yellow LED fill lights no longer work.
- The camera housing is damaged.
- The connection cable or connector is damaged.
- Liquid photopolymer resin has reached the camera module.
- Time-lapse recording does not work because of a hardware failure.
Before replacing the camera, restart the printer and check the network connection, application settings, firmware version and camera cable connection. A missing remote image does not always indicate a physical camera failure.
Installation Recommendations
- Finish or cancel the active print job.
- Switch off the Anycubic Photon P1.
- Disconnect the printer from the power supply.
- Remove the resin vat and build platform to prevent accidental contamination.
- Access the original camera mounting position.
- Carefully disconnect the old camera cable.
- Do not pull the connector directly by the wires.
- Remove the damaged camera module.
- Install the new camera in the correct orientation.
- Connect the cable until the connector is fully seated.
- Reinstall all removed enclosure components.
- Switch on the printer and test the image, fill lights and remote monitoring.
Use the official Anycubic Photon P1 replacement guide when installing the camera. All installation work must be completed while the printer is fully disconnected from power.
Care Recommendations
- Do not touch the camera lens with your fingers.
- Clean the lens with a soft, dry optical cloth.
- Do not use abrasive cleaning materials.
- Do not apply alcohol or solvents directly to the lens.
- Prevent liquid resin from reaching the camera, LEDs, cable or connector.
- Do not bend or pinch the connection cable.
- Do not block the lens with additional accessories.
- Periodically inspect the lens and LED fill lights for contamination.
- Always disconnect the printer from power before maintenance.
Important Information
The camera is intended for visual monitoring and recording of the printing process. It does not replace direct inspection of the resin vat, release film, build platform and printed model.
Image quality may depend on lens cleanliness, ambient lighting, enclosure condition, network stability and software version.
Frequently Asked Questions
Is this camera compatible with the Anycubic Photon P1?
Yes. This version is designed for the Anycubic Photon P1.
What is the camera resolution?
The camera resolution is 480P.
How many LEDs are installed in the module?
The camera includes two warm yellow LED fill lights.
What are the yellow lights used for?
They illuminate the build platform and internal working area in low-light conditions.
Can the printing process be monitored remotely?
Yes. Remote monitoring is supported when the printer is correctly connected to the network and configured with compatible Anycubic services.
Does the camera support time-lapse recording?
Yes. The camera supports time-lapse video recording of the printing process.
Is this camera compatible with the Photon P1 Max?
No. The official store provides a separate product option for the Photon P1 Max.
Do the yellow lights cure the resin?
No. The yellow LEDs are used only to illuminate the working area and improve the camera image.
Is a firmware update required after replacement?
A separate firmware update is not normally required. After installation, check the image, fill lights, network connection and camera access.
Can the camera be replaced without professional service?
Yes, when suitable tools and the official Anycubic instructions are used. The printer must be completely disconnected from power.
Why Choose the Yellow-Light Camera Unit for Photon P1
The original Anycubic module restores remote monitoring, internal working-area illumination and time-lapse recording on the Photon P1.
Its original design provides the correct lens position, compatibility with the enclosure mounting points and connection to the designated printer connector.